Tox on Jenkins with ShiningPanda plugin
Tox is an amazing tool to package, test and deploy your Python project. This tutorial does not aim at describing how to setup your project with tox as its documentation is quite good. We'd rather have a look on how to setup a tox enabled project on Jenkins with ShiningPanda plugin.
Sample project
This tutorial uses a sample project to describe all the steps of the process. The sources of this project can be found here.
This sample project is organized like this:
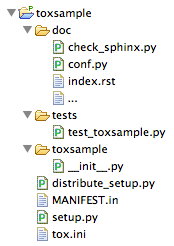
Note the tox.ini file next to the setup.py which contains the configuration for tox. Here is its content:
[testenv]
deps=nose
commands=
    nosetests --with-xunit --xunit-file=junit-{envname}.xml tests

[testenv:docs]
basepython=python
changedir=doc # or whereever you keep your sphinx-docs
deps=sphinx
    pytest
commands=
    py.test --tb=line -v --junitxml=junit-{envname}.xml check_sphinx.py
What does it do?
- On default test environments, it runs tests located in
testsfolder withnoseand produces XML reports. - On
docstest environment, it executescheck_sphinx.pywithpy.testto check the generation of the sphinx documentation (this example andcheck_sphinx.pyscript come from tox's documentation).
Our goal is to setup this project on Jenkins with ShiningPanda plugin for Python 2.7, Python 3.2 and PyPy, with an additional documentation check.
Global configuration
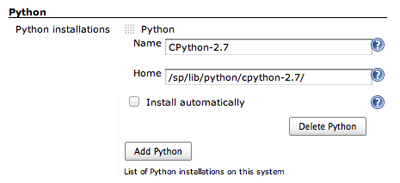
Unlike other builders, tox is able to find Python installations by itself, as long as they are in standard locations. However if you have a Python installation in a non standard location, declaring it in Jenkins will add it to the PATH, so that tox will be able to find it.
To do so, click on Manage Jenkins > Configure System, step in the Python section, Add Python then give the installation a name and enter its home folder (ie. its PYTHOHOME):
Create a new job
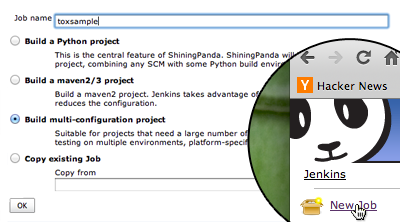
First of all, create a new job, enter its name (here toxsample) and select Build multi-configuration project before validating.
Basic setup
As usual, setup:
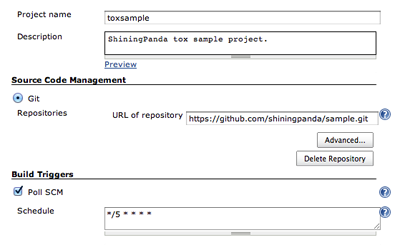
- The name and description.
- The source repository, here
https://github.com/shiningpanda/sample.git. - The build trigger policy: checking for modifications every five minutes in this example.
Tox setup
Here is the core of the solution:
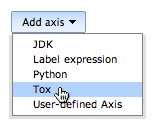
First of all, add a Tox axis.
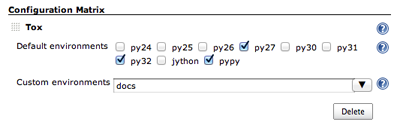
Then select the environments you want to test on:
- The default test environments are directly available by checking the corresponding box, ie.
py27for Python 2.7,py32for Python 3.2 andpypyfor PyPy. - To execute some custom test environments, enter their names separated by space in the dedicated text field:
docsin our sample project.
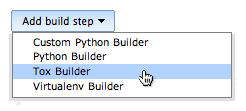
A Tox Builder is also required.
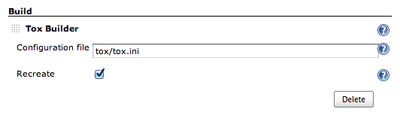
Finish by entering the path to the tox.ini file and checking the Recreate box if you want to force recreation of virtual environments on each build.
Post-build actions
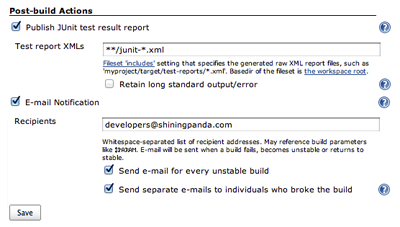
Add all the desired post-build actions. Here Jenkins is asked to parse the XML test reports and to send mails on failure.
Results
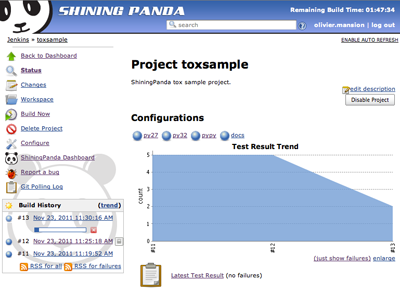
Finally start a new build: execution results by test environments are directly available on the main page of the project.